The Complete Guide to Sewing Patches on a Leather Vest
, by Syed Khawar Bukhari , 14 min reading time
, by Syed Khawar Bukhari , 14 min reading time
A patch on a vest is never just decoration. It's a ride logged, a club joined, a milestone hit. The problem is that leather doesn't forgive mistakes the way denim does. Every needle pass leaves a permanent hole, so a crooked patch or a snapped thread mid-stitch can't be steamed out or restitched without a visible scar.
This guide walks through the entire process: picking the right needle and thread for leather (not fabric), prepping the vest so it doesn't crack, sewing a stitch that will actually outlast the leather around it, and placing the patch where it belongs — whether that's a clean shoulder placement on a fashion vest or a back patch that follows motorcycle club etiquette. By the end, you'll know exactly which method fits your vest, your patch, and your skill level.
Sew patches onto a leather biker vest using a glover's needle (its triangular tip pierces leather without tearing it) and waxed polyester or nylon thread, working a saddle stitch through pre-marked holes. Tape or glue the patch in place first, stitch from the inside out to hide the knot, and keep stitches spaced an even 1/8 to 1/4 inch apart. Avoid ironing patches onto leather — heat warps and discolors the material. For motorcycle vest back patches, hand sewing is the standard because it gives the control needed for thick top and bottom rockers.
Leather punishes the wrong tools fast. A standard sewing needle will bend or snap on the first pass through vest-weight leather, and all-purpose cotton thread frays apart well before the patch does. Gather the right kit and the actual sewing takes a fraction of the time.
For hand sewing:
For machine sewing:
The needle-and-thread pairing matters more than most guides let on. A needle's eye should be roughly 40% larger than the thread passing through it, and matching the wrong sizes is the most common reason hand stitches look uneven or snap under tension. If you're using a glover's needle on lightweight garment leather, a thinner needle size leaves a smaller, less visible stitch hole; thicker vest leather can handle a larger needle without tearing.
Skipping prep is how good patches end up on cracked or crooked leather. Wipe the vest down with a slightly damp cloth to clear off dust, then let it air dry completely. If the vest is older or has spent time outdoors, work in a thin layer of leather conditioner around the area you'll be stitching — dry leather is more likely to crack as a needle passes through it repeatedly.
Try the vest on before marking anything. Patches read differently on a body than they do laid flat on a table, and small placement errors are obvious once the vest is worn. Use tailor's chalk to trace the patch's outline directly onto the leather, lining it up with existing seams or panel edges so it doesn't sit crooked relative to the vest's own structure.
Patch type affects the approach too. Embroidered patches with heat-cut edges sew cleanest because the border doesn't fray. Leather-on-leather patches need a sharper needle and slower, more deliberate stitching since both layers resist the needle. PVC and rubber patches usually arrive with pre-punched mounting holes that make hand sewing easier, even though they look less traditional.
Once the placement is marked, hold the patch exactly on that line and secure it before a single stitch goes in. Masking tape works for most patches — loop a few inches into a ring and press it to the patch's back, or run strips around the edge. A light spray adhesive or temporary fabric glue holds slippery or oversized patches in place without adding stiffness once you stitch over it.
Check the alignment one more time before pushing the needle through anything. This is the point of no return: leather holes don't close back up, so a patch sewn a quarter-inch off-center stays that way unless you're willing to live with the old holes showing.
Hand sewing is the standard for leather vests because it gives far more control than a machine, especially around curves, corners, and thick layered patches like top and bottom rockers. The technique leatherworkers use — the saddle stitch — produces a stronger, more even line than a simple running stitch, and it's not much harder once you've done a few inches.
If pre-punching holes with an awl before sewing, switch to a blunt harness needle instead of a sharp glover's needle. A blunt tip follows the existing holes rather than piercing new ones next to them, which is what keeps a hand-stitched line looking clean instead of doubled.
A sewing machine is faster, but it's also less forgiving: every pass creates a continuous line of holes in seconds, and a mistake is harder to unpick cleanly from leather than from fabric. Machine sewing works best when the leather is thin to medium weight, the patch sits on a flat section of the vest away from seams, and you're comfortable controlling speed at a low, steady pace.
Fit the machine with a leather or denim needle and load polyester or nylon thread in both the top and the bobbin — natural fibers like cotton break down faster under the friction leather sewing creates. Set the stitch length slightly longer than you would for cotton fabric; tightly spaced machine stitches perforate leather along a single line, which weakens it the same way a sheet of stamps tears along its perforation.
Remove tape or adhesive as you sew rather than stitching over it, and turn the fabric — not the needle — when navigating corners, lifting the presser foot to pivot. If the vest has a lining, check whether it's possible to open a seam and keep the lining free of the stitch line; sewing through both layers can subtly change how the vest sits on the body.
Fabric glue and Velcro backing both come up constantly in patch forums, and they're worth knowing about even though neither one replaces stitching for the long term. Fabric glue can hold a patch in place temporarily while you check placement, but as a permanent fix on leather it tends to fail at the edges first, especially once the vest flexes with regular wear. Velcro-backed patches solve a different problem: they let you swap patches in and out, which some riders use for seasonal or event-specific patches. Even then, the Velcro base itself usually needs to be sewn to the vest — the hook-and-loop only handles the patch-to-base connection, not the base-to-leather one.
Spray adhesive sits in a similar category. It's genuinely useful as a placement aid that keeps a patch from sliding while you sew, but treating it as a sewing substitute is how patches end up peeling off a sleeve mid-ride. If durability matters — and on a vest you intend to keep wearing, it usually does — sewing is still the only method built to outlast the leather itself.
Placement isn't just visual — it shapes how readable and, in some circles, how appropriate the finished vest looks. The conventions differ depending on whether the vest is a personal style piece or part of motorcycle club culture, and mixing up the two can send the wrong message without you realizing it.
For general and fashion vests, placement is mostly aesthetic. A large design works well centered on the back panel where it has the most visible space. Smaller patches suit the chest, just above seam lines, or a sleeve edge if the vest has one. Keep spacing symmetrical — patches scattered with no visual anchor tend to look cluttered rather than personalized.
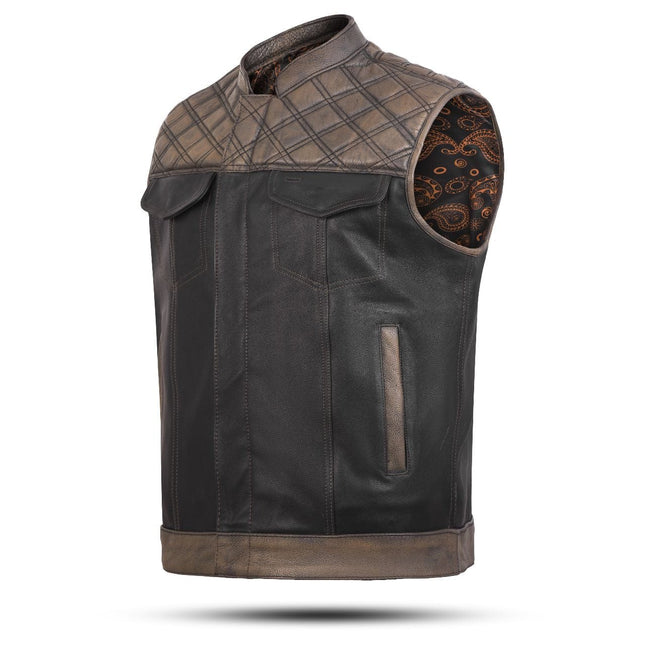
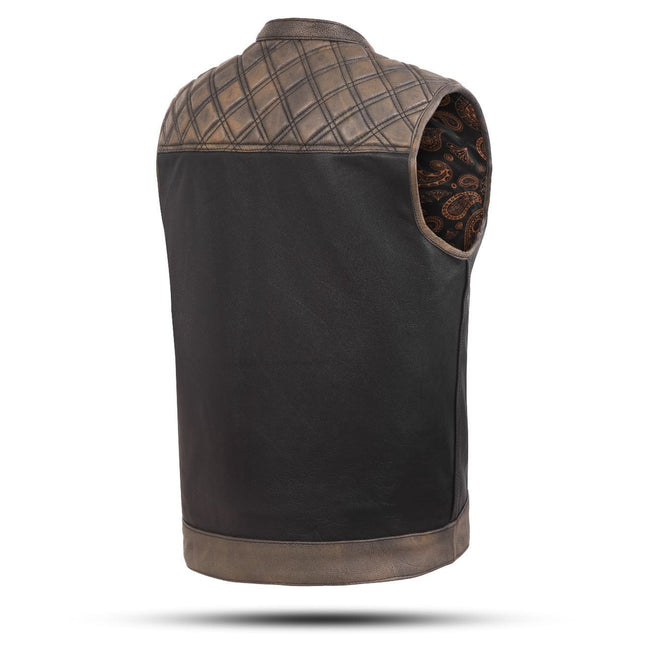
For motorcycle vests, placement carries real meaning. The back of the vest is the most important space, since it's what other riders see and what communicates club identity at a glance. A center emblem with no rockers above or below is the standard for riding clubs, casual biker groups, and independent riders, and it makes no territorial claim. Full motorcycle clubs typically use a three-piece layout: a top rocker naming the club, a center patch carrying the club's logo, and a bottom rocker naming the chapter's territory.
That bottom rocker deserves extra caution before you sew anything. Wearing a territorial rocker for a region that already belongs to another club can escalate conflict faster than almost anything else on a vest, so independent riders and casual groups generally skip it altogether. Rules and interpretations vary significantly between individual clubs, so if a patch carries any club affiliation, it's worth checking that club's own placement conventions before committing it to the vest permanently.
Smaller patches have more flexibility. The front of a vest is bolder and more individualistic, often used for a name or road-name patch on the upper chest, a smaller version of a club logo, or rank patches for officers like president or road captain. Many riders reserve the lower rocker space or bottom edge for memorial patches honoring fallen friends or club members, arranged either in a tidy row or scattered more personally across the available space.
Most patch failures trace back to the same handful of errors, and nearly all of them happen before the first stitch goes in.
Using sharp pins to hold the patch. Pins leave permanent holes in leather even if the patch never gets sewn there. Tape, clips, or temporary adhesive accomplish the same job without the damage.
Ironing a patch onto leather. Heat-activated backing is designed for cotton and synthetic fabrics, not leather. Heat can warp, discolor, or permanently damage leather, and that holds true even when a patch's packaging says "iron-on" — sew it instead.
Skipping the test stitch. A scrap of leather, even a small offcut, shows whether the needle size, thread tension, and stitch length you've chosen actually suit that specific piece of leather before you commit to the real vest.
Mismatched needle and thread sizes. A needle too small for the thread will fray it with every pass; one too large leaves stitch holes wider than the thread can fill, so the line looks loose even when it's sewn tight.
Rushing the corners. Corners and curves are where uneven spacing shows up first. Slowing down and anchoring each corner point individually is worth the extra few minutes.
A freshly stitched patch is at its most secure right after finishing, but ongoing wear is what actually tests it. Condition the leather around the patch every few months to keep it from drying out and stressing the stitches at the edges. Avoid machine washing — leather and waxed thread both hold up far better with a damp cloth and air drying than with a washing machine cycle.
Check stitching periodically, especially on a vest that sees regular wear. A single loose stitch caught early is a five-minute fix; left alone, it can unravel the whole seam and take the patch with it.
Can you sew a patch onto leather by hand without a sewing machine? Yes. Hand sewing with a glover's needle and waxed thread is the standard method for leather vests, and it's often the better choice for patches with curves, corners, or club rockers where precision matters more than speed.
What's the best thread for sewing patches on leather? Waxed polyester or nylon thread. Both resist UV damage and moisture far better than cotton, and the wax coating lets the thread glide through leather instead of catching and fraying mid-stitch.
Can you iron a patch onto a leather vest instead of sewing it? No. Heat from an iron can warp, discolor, or permanently damage leather, even on patches labeled as iron-on. Sewing is the only method that's both secure and safe for the material.
Where should a single patch go on a leather vest? For a personal or fashion vest, the back center suits large designs and the chest or shoulder area suits smaller ones. For a motorcycle vest, a single center patch with no rockers is the standard layout for independent riders and casual riding groups.
Do I need to open the vest's lining before sewing a patch? Not always, but it's worth checking if your vest has a separable lining. Stitching through both the leather and lining together can subtly change how the vest fits, so opening the seam in that area first — then closing it after — keeps the original fit intact.
A patch sewn correctly the first time will likely outlast the vest it's attached to — that's how durable a saddle-stitched seam in waxed thread actually is. Take the extra ten minutes for a test stitch, mark placement before committing to it, and choose hand sewing whenever a patch has corners, curves, or any kind of meaning attached to where exactly it sits. The vest will carry that patch for years; it's worth getting the first stitch right.


$139.95 - $169.95


$129.95 - $159.95