DIY Leather Biker Vest Customization: Stand Out on the Road
, by Syed Khawar Bukhari , 17 min reading time
, by Syed Khawar Bukhari , 17 min reading time
If you ride, your vest is not just a piece of clothing. It is a statement, a rolling autobiography, a declaration of who you are and where you have been. A plain leather biker vest is simply the starting point. What you do with it afterward is where the real identity gets built. DIY leather biker vest customization has exploded in popularity because riders want something no catalog can offer: a piece that is genuinely, undeniably theirs.
This guide walks you through everything from surface prep and painting to patching, studding, and distressing your vest so that it earns its place in the pack instead of blending into it.
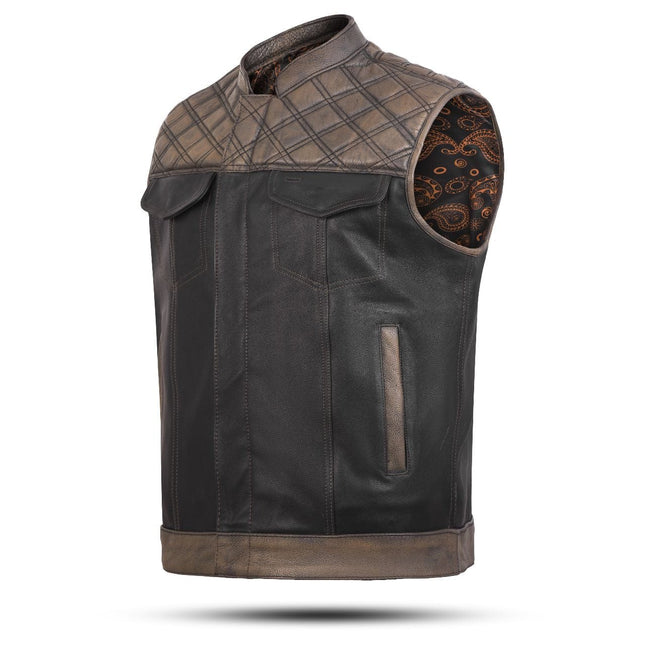
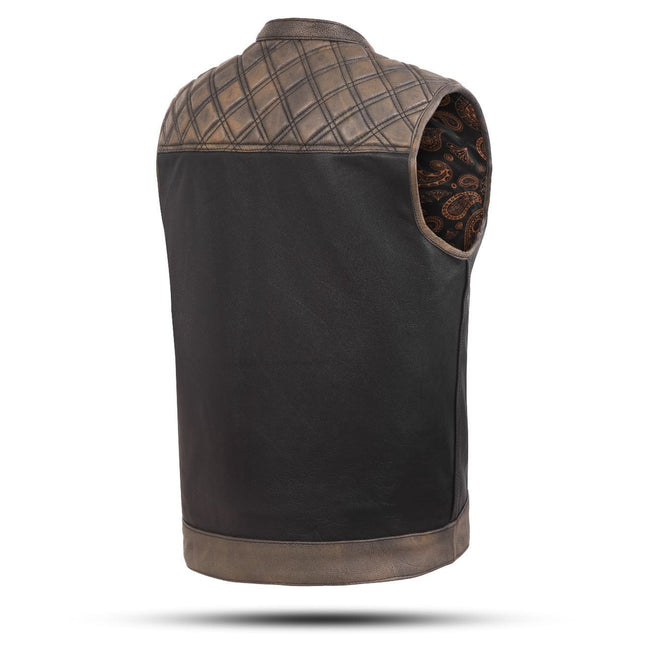
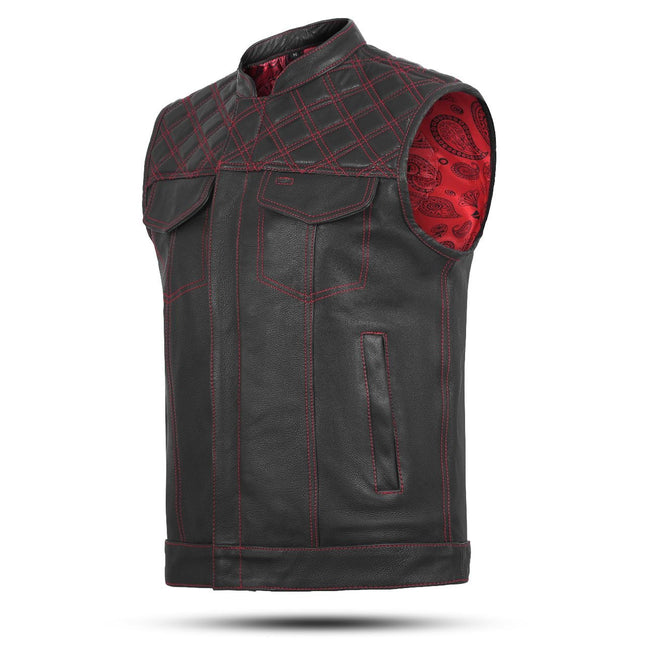
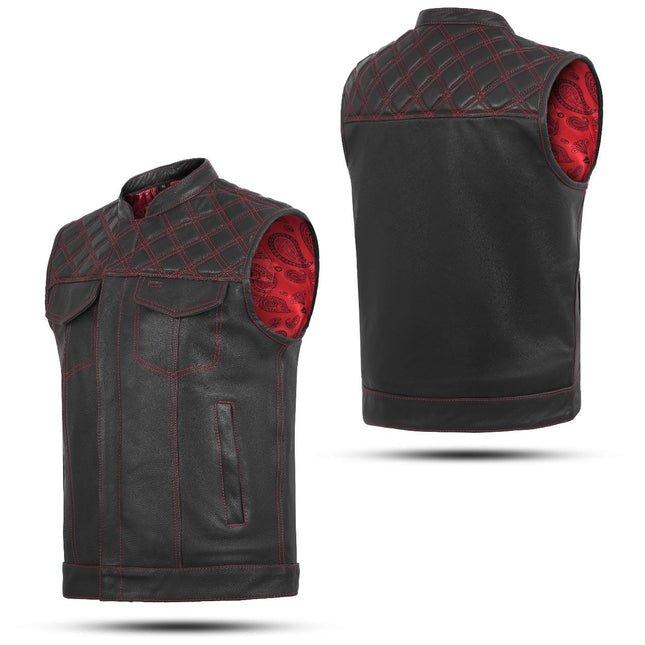
Before you pick up a paint brush or a stud setter, it helps to understand what you are working with. Full-grain leather is the gold standard for biker vests because it develops a patina over time, holds dye and paint well, and survives genuine road use. Top-grain leather is slightly more processed but still takes customization beautifully. Genuine leather or bonded leather are budget options, but they crack under heavy paint and do not hold hardware as securely, so keep that in mind if you are planning a heavily worked piece.
The weight of the leather matters too. A 3 to 4 oz leather is supple enough to fold into patches but may not hold rivets as firmly. A 6 to 8 oz hide is stiffer and gives hardware a very solid seat, which is ideal for heavily studded or painted work. Most off-the-rack biker vests fall somewhere in the 3 to 5 oz range, which works well for almost every customization technique covered here.
Preparation is the step most beginners skip, and it is the reason most DIY projects look amateur within a season. Proper prep creates adhesion, brings out the leather's natural character, and ensures your work lasts for years instead of peeling off at the first rain.
Start by wiping the entire vest down with a leather deglazer or acetone on a cotton pad. Factory finishes and protective coatings seal the surface against moisture, which also means they seal it against paint and adhesive. The deglazer strips that layer away without damaging the hide underneath. Work in small sections, turning the pad frequently so you are not just redistributing the old finish.
Once deglazed, let the vest dry fully in a room temperature space away from direct sunlight. Heat speeds drying but also causes the leather to become brittle, and brittle leather does not take paint or stitching the way you want it to.
After cleaning, apply a light coat of leather conditioner and let it absorb for an hour. This sounds counterintuitive before painting, but conditioned leather accepts pigment more evenly than dried-out hide. Think of it the way you think about priming a wall before painting. The conditioner raises the grain slightly, giving the paint more surface to grip.
Acrylic leather paint is the standard for good reason. It is flexible, it bonds to the hide without cracking when the leather bends, and it comes in every color imaginable. Brands like Angelus and Jacquard are favorites in the custom leather community because they have been refined specifically for this material.
Freehand painting rewards patience more than raw artistic talent. Use a light pencil sketch or chalk outline as your guide before you commit a brush stroke to the leather. Chalk wipes off easily if you change your mind, and it gives you a roadmap so the composition stays balanced.
For riders who are not confident going fully freehand, vinyl stencils cut with a Cricut or Silhouette machine open up enormous possibilities. You can recreate intricate skulls, eagles, flames, club insignia, or lettering with a level of precision that takes trained artists years to develop freehand. Spray a light tack adhesive to hold the stencil flat, apply thin coats of paint, and pull the stencil while the last coat is still slightly tacky to get the cleanest edge.
The single biggest mistake in leather painting is applying the paint too thick in one pass. Thick coats crack. Thin layers sealed between coats are the professional approach. Apply a coat thin enough to still see the leather texture underneath, let it dry for 20 minutes, then repeat. Three to four thin coats will give you better depth and coverage than one heavy coat, and the result will flex with the leather instead of lifting away from it.
Once your design is complete and fully dry, seal it with a matte, satin, or gloss leather finisher depending on the look you want. Matte keeps that authentic worn-in leather feel. Gloss gives a more graphic, bold pop to the colors. Apply two coats of finisher with a foam brush, letting each coat dry fully. This step is not optional if you want your work to survive road conditions.
Patches are the most traditional form of vest customization, carrying decades of biker culture history in every thread. Getting them on correctly is the difference between a vest that looks deliberate and one that looks like an afterthought.
Hand stitching with a heavy needle and waxed thread is the correct method for patches that will stay put through years of riding. A leather hand-sewing needle, a stitching awl to pre-punch the holes, and 0.8mm waxed linen thread are all you need. Saddle stitch, where the same thread passes through each hole from both sides, is stronger than a machine stitch and is the same technique used by saddle makers who build gear designed to outlast the horse.
Fabric glue and iron-on backing are sometimes used as temporary positioning tools, but they are not a long-term solution on leather. The adhesive breaks down with heat, sweat, and weather. Stitch over anything you glue, and the patch will be there long after the original vest shows its age.
Lay the vest flat on a table and arrange your patches before committing anything to thread. Use masking tape to temporarily hold patches in position while you step back and look at the overall composition. Back panel pieces naturally anchor the whole layout, so start there and work outward. Balance is not about symmetry; it is about visual weight. A large patch on the lower left can balance two or three smaller pieces on the upper right.
Metal studs, rivets, and conchos transform a flat leather vest into something with real visual presence. The tooling for this work is inexpensive and the technique is straightforward once you understand the basics.
Pyramid studs, dome studs, and spike studs each have a different character. Pyramids and domes are the most versatile and look sharp on both traditional and modern style vests. Spikes are more aggressive and suit a harder aesthetic.
Most basic studs have two or four prongs on the back. You push them through the leather from the front, then bend the prongs flat against the back using a stud setter tool or even a flathead screwdriver wrapped in tape to protect the leather. Thicker leather will require a hole punch to pre-pierce the material before the prong passes through cleanly.
Rivets are a different animal. A two-part rivet requires a setter and a backing block. The cap goes on the face side, the backing post pushes through from the rear, and a strike with the setter mushrooms the post over the cap. Rivets are stronger than prong studs and are better suited for high-stress areas like shoulder seams or pocket edges.
Random hardware placement looks random. Map out your stud pattern with a chalk pencil before you start setting anything. Classic approaches include border lines along panel edges, radiating lines from a central concho, or geometric fills inside an outlined shape. Hardware responds well to repetition and rhythm, so a consistent spacing between studs reads as intentional craftsmanship rather than decoration for its own sake.
A brand new leather vest stands out in the wrong way on a seasoned rider. Controlled distressing creates the kind of character that usually takes years of riding to develop naturally, and it makes custom paintwork look like it belongs to the vest rather than sitting on top of it.
Fine grit sandpaper, around 220 to 400 grit, dragged lightly over raised areas like collar edges, shoulder seams, and pocket corners creates a natural wear pattern. The areas that catch friction in real wear are exactly the areas you want to sand. Work lightly and check frequently because leather removal is not reversible.
A bone folder or smooth wooden dowel burnished firmly along edges compresses and polishes the hide in a way that mimics the effect of handling. Run it along panel borders and pocket flaps for an edge that looks like it has seen ten thousand miles.
Antique gels are designed to settle into the natural grain and tool marks of leather, darkening the low points and leaving the high points lighter. The contrast creates depth and makes even plain vest leather look aged and worked. Apply with a folded cloth, rub into the leather, then buff back immediately with a clean cloth before it sets. The result is a subtle, rich variation in tone that flat dye cannot replicate.
Your name, your chapter, your road name, a phrase that defines how you ride. Lettering is one of the most personal elements you can add to a vest, and there are several strong approaches depending on your skill level and the tool you have access to.
Hand-painted lettering done with a fine liner brush and stencil alphabet gives great results for single words or short phrases. For longer text or intricate fonts, a custom embroidered patch ordered from a specialty shop gives you professional finish. Many riders use both: a mass-produced embroidered back patch for the main statement and hand-painted lettering on the front panels for personal details.
All the work you put into customizing your vest deserves a maintenance routine that protects it. Avoid machine washing under any circumstances. Spot clean with a damp cloth and mild saddle soap when needed. Keep the leather conditioned twice a year with a quality product like Leather Honey or Bick 4 to prevent the hide from drying out and cracking around stud holes and paint edges.
Store the vest on a wide hanger in a climate-controlled space rather than folded in a bag. Folding creates creases that, over time, stress the paint and weaken the leather at the fold line.
DIY leather biker vest customization is a craft that rewards patience, planning, and a willingness to learn by doing. From cleaning and prepping the leather to painting, patching, studding, and distressing, every technique covered here is achievable without a professional shop or industrial equipment. What you need is good materials, a clear vision, and the willingness to put real time into each step. The result is a vest that carries your identity on the road in a way no mass-produced piece ever could, one that gets better, richer, and more distinctly yours with every mile you put behind you.
Q1: What type of paint is best for leather biker vest customization?
Acrylic leather paint from brands like Angelus or Jacquard is the best choice. It bonds to leather without cracking, comes in a full color range, and holds up to outdoor use when properly sealed with a leather finisher.
Q2: Can you add patches to a leather vest without sewing?
You can use leather glue to position patches temporarily, but permanent application requires hand stitching. Saddle stitch with waxed linen thread and a leather needle is the most durable method and is the industry standard for long-term patch application.
Q3: How do you distress a leather vest to make it look worn?
Use 220 to 400 grit sandpaper on raised edges and high-contact areas to simulate natural wear. Antique gels applied and buffed back add tonal depth and shadow to the grain. Both techniques together produce very convincing aged character.
Q4: How long does leather paint last on a vest?
With proper prep, thin layered application, and a quality sealant coat, leather acrylic paint can last five or more years through regular wear and weather exposure. Conditioning the surrounding leather twice a year also preserves the flexibility that prevents paint from cracking.
Q5: What hardware is best for studding a leather biker vest?
Pyramid and dome studs are the most versatile and durable options for vest customization. For high-stress areas, two-part rivets are stronger than prong studs. Use a hole punch on thicker leather to ensure clean setting without tearing the hide.


$139.95 - $169.95


$129.95 - $159.95